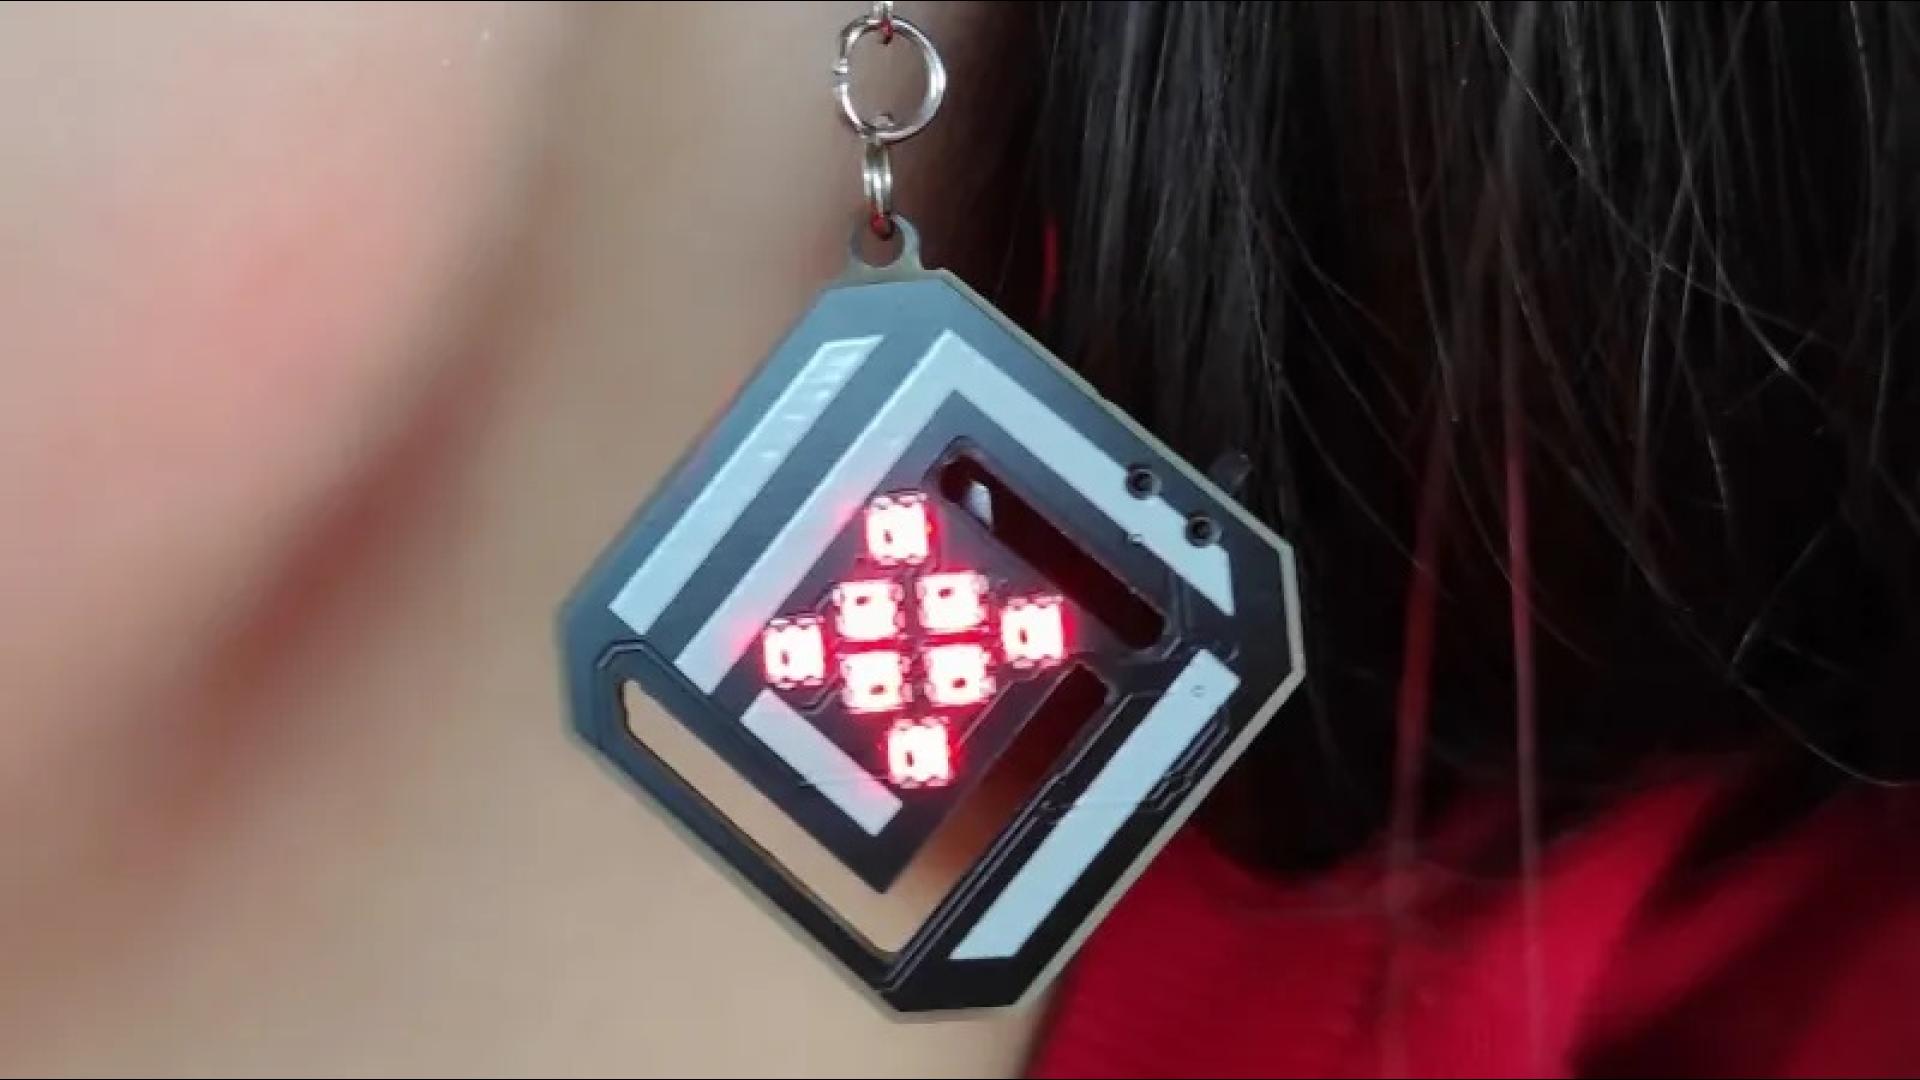
While we often adorn ourselves with a variety of jewelry, our ears might not always get the spotlight they deserve. Enter the world of DIY electronics with a sparkling twist: LED earrings. Crafted by the inventive DIY enthusiast Chris, these earrings are more than just accessories; they are a statement.
At the heart of these dazzling pieces are Printed Circuit Boards (PCBs) that do double duty as both the foundation and the canvas for the earrings. Mounted on these PCBs are eight minuscule WS2812 LEDs on each earring, capable of displaying a kaleidoscope of colors. These LEDs are orchestrated by the tiny yet powerful ATtiny13-A AVR microcontroller, complemented by a suite of components that ensure seamless operation.
One of the ingenious aspects of these earrings is their power source - a discreet CR1220 coin cell battery tucked away on the back, maintaining the elegance of the design. Programming these miniature marvels is done through pogo pins, eliminating the need for any obtrusive connectors and maintaining their sleek profile.
The earrings aren't just about the glow; they're about the show. Thanks to the programmable nature of the LEDs, they can display everything from soft color fades to dynamic chase animations, ensuring that your style shines bright and vibrant.
DIY Guide: Crafting Your LED Earrings
Ready to embark on a journey of electronic craftsmanship? This tutorial will guide you through the creation of your very own LED earrings, from the design phase to programming with the Arduino IDE. Learn how to master the ISP technique for programming the ATtiny13 microcontroller and how to bring those tiny WS2812 LEDs to life.
For a detailed walkthrough, check out the tutorial video below:
Resources and Further Reading
- Find electronic components on Octopart
- Order your PCBs from JLCPCB
- Design your PCBs with Altium Designer
- WS2812 Arduino library for ATtiny13: GitHub Repository
- ISP Programming tutorial: Microcontroller ISP Programming
- Explore Chris's previous earring designs on Instructables
- Download the GERBER files for the earring design here
- Download the Arduino code for the earrings here
